I’ve spent the past few days looking for the easiest method to rip a DVD and stream it to my Xbox 360 from my Windows Media Center (or Vista) PC. There’s many different methods for this and most of them involve ripping the DVD to a single VOB file, renaming that file as a .MPG running it through some sort of AC3 filter and then streaming the large MPEG file to your Xbox. The problem with each of the methods I found for this has been that they are time consuming and require you running 2-3 different programs before it’s completed. My goal was to find a way to do this with just one or at most two programs involved and in as short a period as possible. This is how I’m doing it.
NOTE: I do not endorse, encourage or recommend anyone rip/stream/copy any DVD they do not legally own. My project is strictly using DVDs that I purchased myself and that (as I understand it) I have the right to make backup copies of for my own personal use and how this information is used by you is up to you, I am not liable for any misinformation.
The Tools Needed
I’m using the following applications
- AnyDVD, from www.slysoft.com — This is used to defeat the copy protection on the DVD so you’re able to copy it. It’s works on almost all of the DVD’s I’ve tested.
- CloneDVDmobile from www.slysoft.com — This is used to actually RIP the DVD from the DVD to a Windows Media file (.WMV).
- and occasionally DVDfab from www.dvdfab.com. — This is really only used because it’s my preferred application for backing up DVDs, it’s never failed on a DVD yet.
- MyMovies for the Xbox 360, a free application from www.mymovies.name. — This is used to index the movies on my drive and access them easily through the Xbox.
- A Large DVD Collection. I own about 250 DVDs and the goal of this project is simply make managing and accessing my collection of DVDs easier.
The hardware I’m using is a Sony DVD+/-RW USB drive and a Maxtor 500GB USB drive to store the movies. I know ripping from a USB drive and writing it to a USB drive is slowing things down but it’s the hardware I have and it works for me. The average time for a full rip varies from 30 minutes to 70 minutes so far.
Part 1. Ripping the DVD
This is really straightforward and should be pretty easy for anyone to duplicate.
1. I loaded AnyDVD and run it in the background.
You’ll see it running from the taskbar on your desktop (it’s the little fox, get it sly as a fox 😉 ):
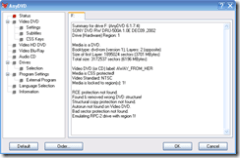
And when you first run it you’ll see it doing it’s magic:
I just leave it running in the background, make sure the little fox is there and let it do it’s thing.
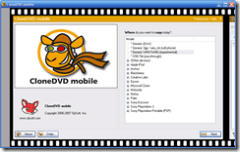
2. Start CloneDVDmobile.
The reason I’m using CloneDVDmobile is that it supports ripping directly from the DVD to WMV file (this is tagged as experimental in the app but with half a dozen DVD’s done in 2 days it’s been pretty good).
When you first start CloneDVDmobile select the option *Generic WMV/WMA (experimental)
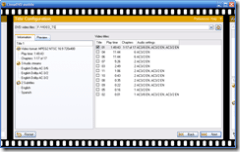
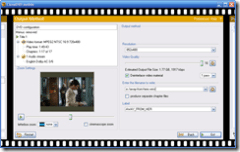
3. Select the movie chapter you’re going to copy.
My DVD drive is F: so I browsed to F: and it did the rest. It generally picks the correct one automatically. You’ll notice we’re only ripping the main movie and not all the special features and such. From what I’ve read the Xbox can’t handle the menu and hey if you ripped the whole thing then all those DVD’s would be useless!
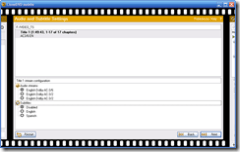
4. Set the Audio and Subtitle settings.
From reading the slysoft forums it seems subtitles aren’t handled very well by this app but then I don’t use them so I haven’t checked. I always pick English Dolby AC-3/6 and disable the subtitles.
5. Output Method and Settings
Okay here’s the part where a little experimentation will be needed. For the widescreen videos I’ve been picking 852×480 for the resolution, for the regular format videos I pick 720×480.
I set the output file by the name of the movie, in this case e:/away-from-here.wmv (I’m writing to my USB drive E:\, I don’t know why it wants to use forward slashes(/) instead of backslashes (\) perhaps it has to do with the mencoder.exe app it uses in the background. and I set a Label for the movie but it usually picks this correctly itself.
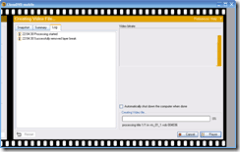
6. That’s it the Movie is ripping!
In about 60 minutes I’ll have a WMV file ready to stream to my Xbox but we’re not done yet.
You’re probably wondering why I’m using WMV files instead of MPEGs or DIVX or whatever. The WMV files give me the ability to fast forward and rewind the movies and are natively supported. DIVX requires (from what I’ve read) a transcoder and MPEGs don’t support the fast forward and rewind (from what I’ve read and experienced so far).

