Should I load Repetier on My DaVinci?
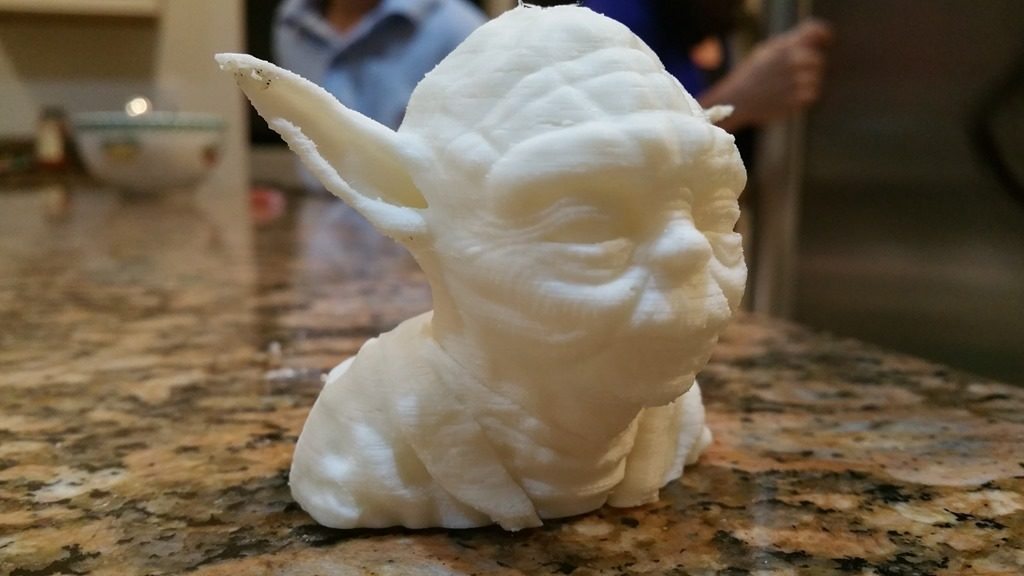
As I’ve blogged earlier I purchased a Da Vinci 1.0 3D printer and thought for the price point ($400 at the time) it was an excellent investment. We have a unique need for some fabrication at AppliedI and I thought this would be a great (economical) way to see if that was feasible. The printer […]
Should I load Repetier on My DaVinci? Read More »